1. All Symbian smartphones since the days of yore, support SyncML protocol. But many users are unaware of this feature and always rely on Synching their Symbian smartphones to their PCs using PC Suites.
2. Nowadays, unlimited internet plans on mobiles is so common. Even WiFi is included as standard in all Symbian smartphones. So, synching contacts database WITHOUT the need to use PC is achievable.
3. I use Google Apps for Domains under i-Symbian.Com and my main contacts list is using Google Contacts. It’s the master list. Meaning, I edit and keep all my contacts updated in Google Contacts.
4. There are many ways to sync Google Contacts to Symbian smartphones, sans PC, among them are :
– Using Mail for Exchange (Exchange ActiveSync Protocol)
– Use any compatible 3rd party SyncML providers such as GooSync, Memotoo, and a bunch of others. Mostly paid services.
5. Google actually offers SyncML to sync Google Contacts to Symbian smartphones for free. But for Contacts only. Not for Calendar. You can refer to the instruction at Google Mobile. But the instruction is a bit outdated.
6. I am actually quite disappointed with the implementation of Exchange ActiveSync in the new Symbian^3 via Mail for Exchange. I don’t know whose fault was it. Whether Google’s or Nokia’s but I experienced some duplicates and deleted contacts if I use Mail for Exchange to sync my Google Contacts to my Nokia N8 directly. And I found that Mail for Exchange drains more battery if used, even if the sync interval is set at only once in every twelve hours.
7. Hence, I choose to try this SyncML method and I found my Nokia N8 battery life improves when Mail for Exchange is not used AT ALL!!!.
8. And the SyncML method here, is not that bad! It pulls all my Google Contacts with all details including contacts notes and thumbnails.
9. Here are the instruction, for Symbian^3 devices which is also can be used for older Symbian^1 devices (But there maybe some changes in the interface here and there and some functions may not be available in the older devices).
10. Your experience may vary. I am not saying this is the best method to sync Google Contacts to your Symbian smartphone but it is the one that I use at the moment, which gives me no headache at all. Good Luck! ![]()
DISCLAIMER : I am not responsible should you experience contacts duplicates, deleted contacts, or worst, your Symbian smartphone explode when you attempt to sync your Google Contacts using this method. At the time of writing, it works perfect for me. The best way to do it is when your contacts database inside your Symbian smartphone is empty e.g. new phone or after a factory reset ![]() This is not for the faint-hearted. YOU HAVE BEEN WARNED!
This is not for the faint-hearted. YOU HAVE BEEN WARNED!
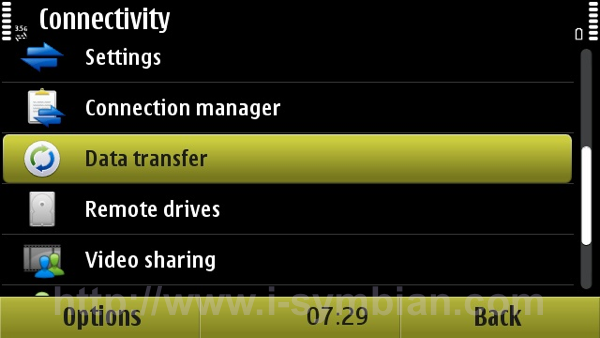
1. In your Symbian^3 samrtphones, go to Settings – Connectivity, and select Data Transfer.
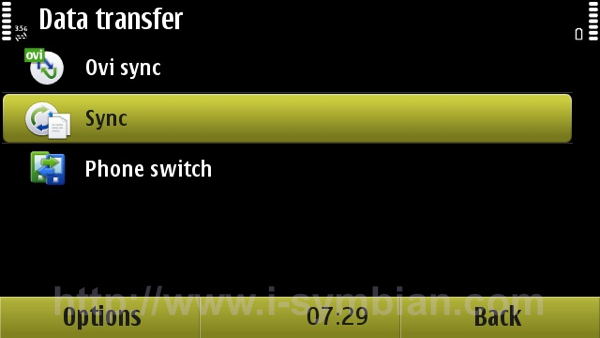
2. Inside Data Transfer, select Sync.
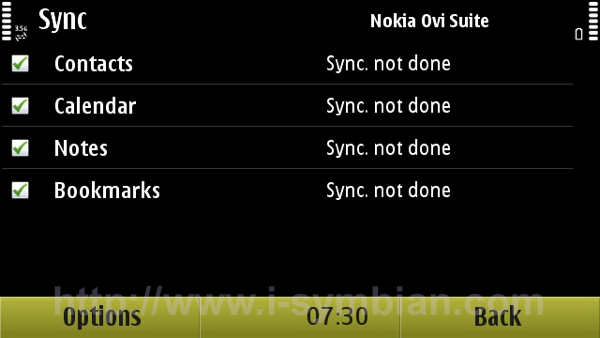
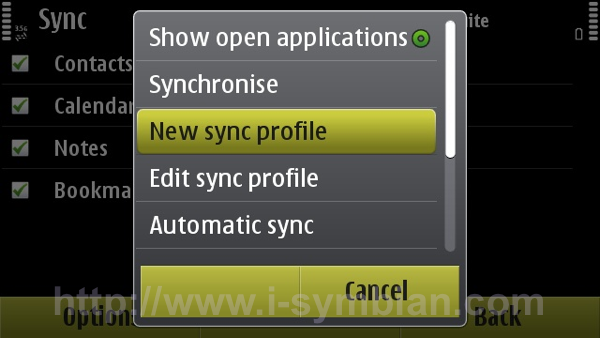
3. Press Options, and select New Sync Profile.
4. Bla bla bla… Select Start.
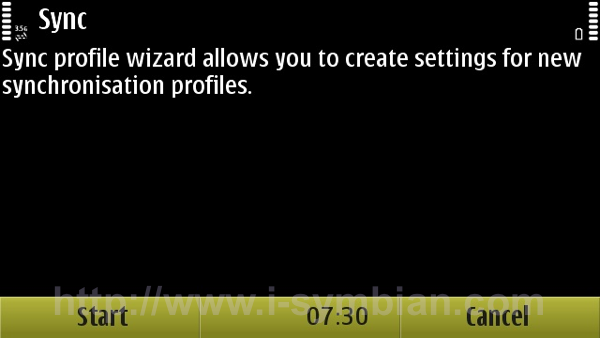
5. Give a name to this new profile. I put Google. You can put whatever name that you desire. Something that can be understood easily.
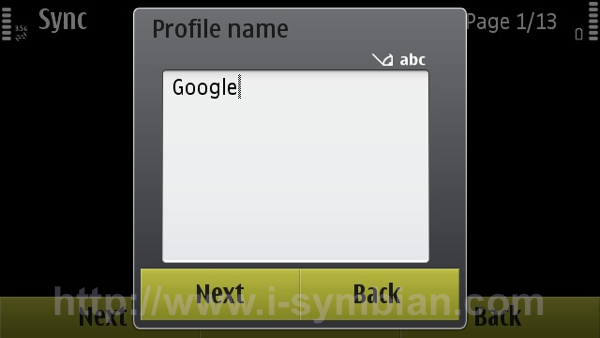
6. In Server Version, select 1.2. Why? I dont know… ![]()
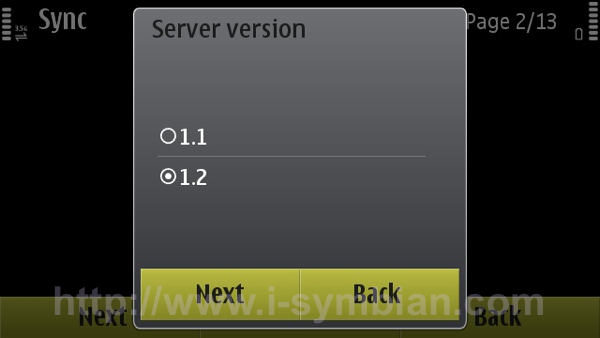
7. In this one, select Contacts only. The other options are irrelevant.
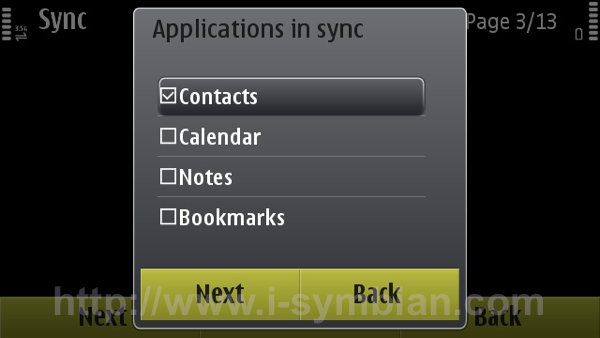
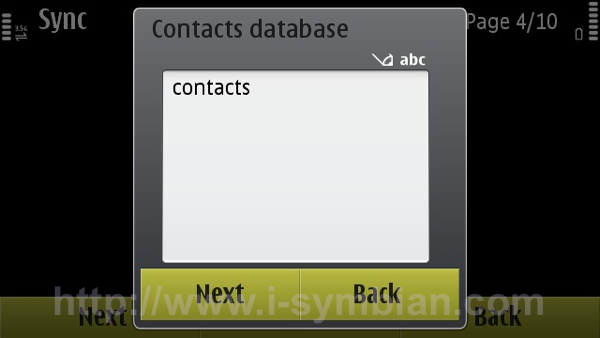
8. In Contacts database, type contacts (please type EXACTLY like shown in the screenshot. No CAPITAL letters.
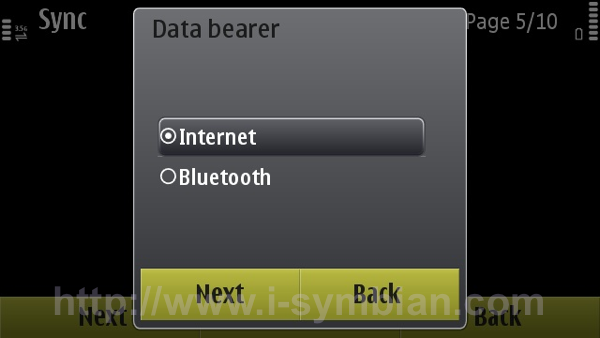
9. Data bearer, select Internet.
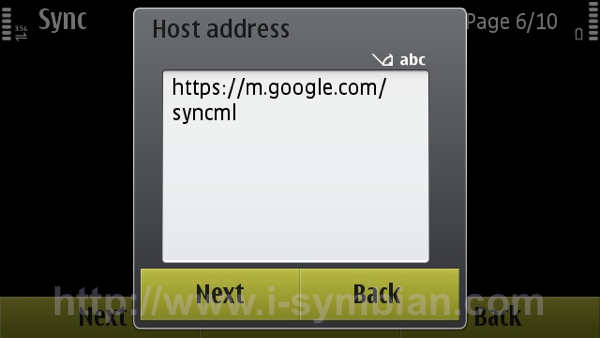
10. Host address. Type exactly like shown : https://m.google.com/syncml. Note the https.
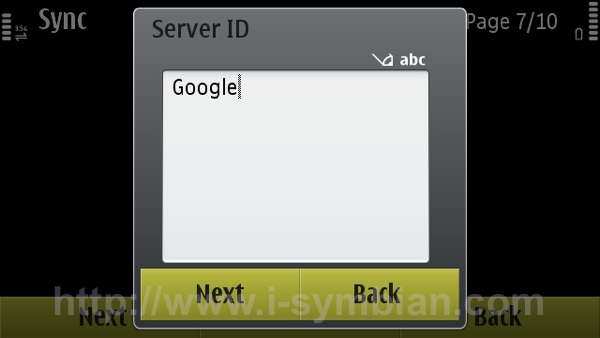
11. In Server ID, type Google. Use capital “G”.
12. Username. Your Google username. It’s your full Gmail or Google Apps email address.
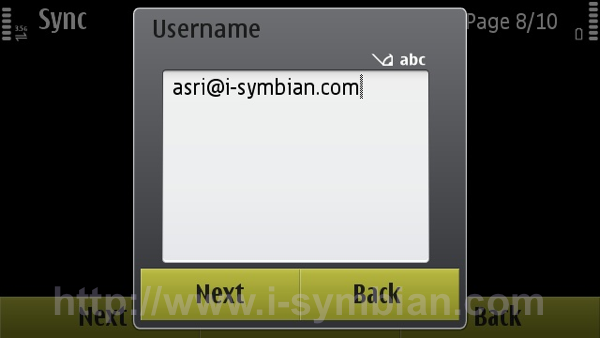
13. Password. It’s self explanatory… anyway, your Gmail / Google Apps password.
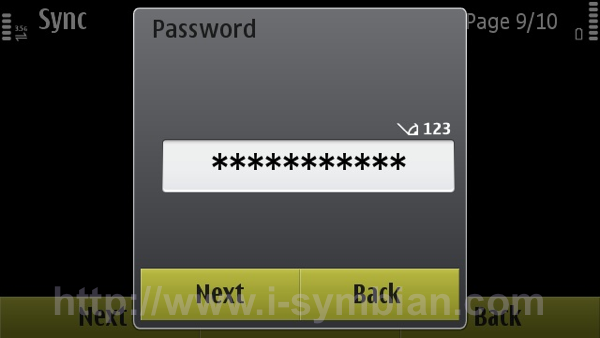
14. Blablabla… Your new SyncML profile has been created. Press Yes to activate it.
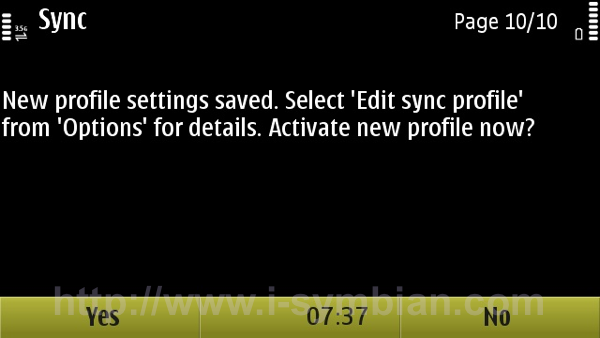
16. You will be brought back to the main Sync page. Now, you can configure to sync automatically. If you prefer, you can also sync manually. If you want automatic sync, press Options and select Automatic Sync.
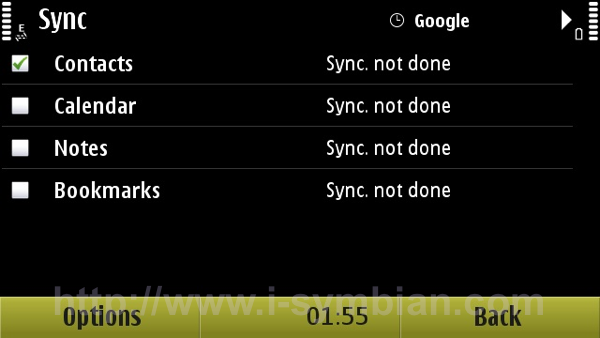
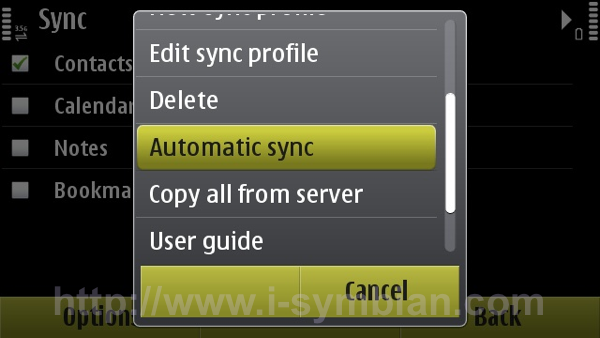
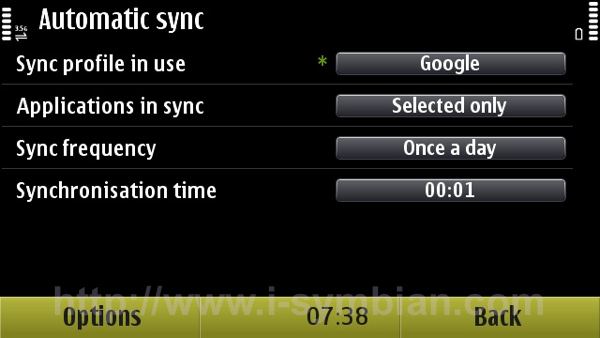
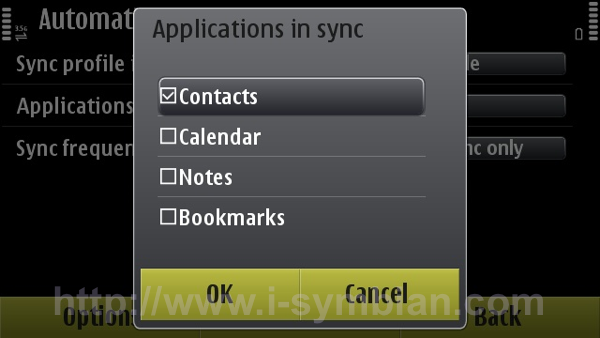
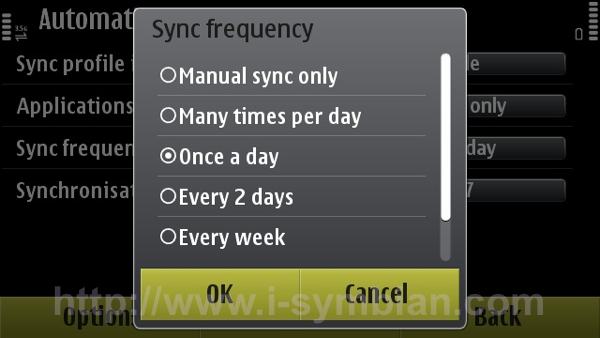
17. In here, define which sync profile and data that you want to use as automatic, as well as the sync interval and the time to sync automatically.
18. You can also choose to sync manually.
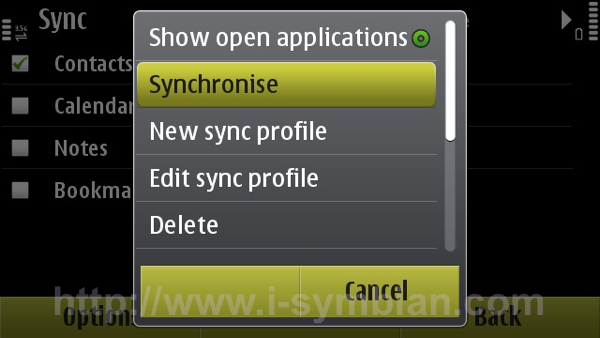
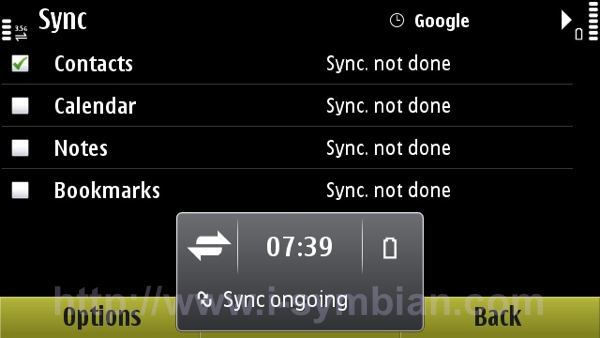
19. When it is synching, you can see a little sync icon at the notification bar.
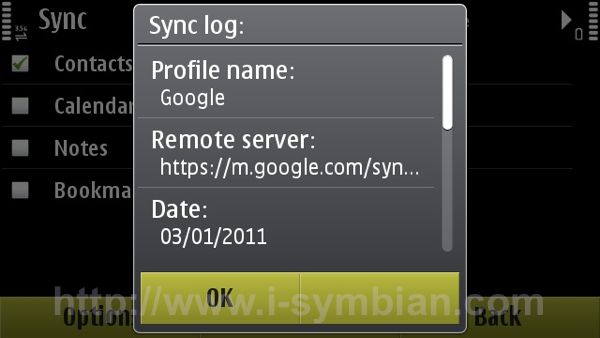
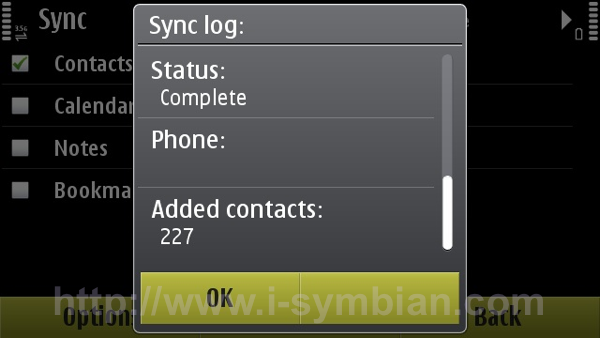
20. It is also possible to view the log after successful synchronisation.
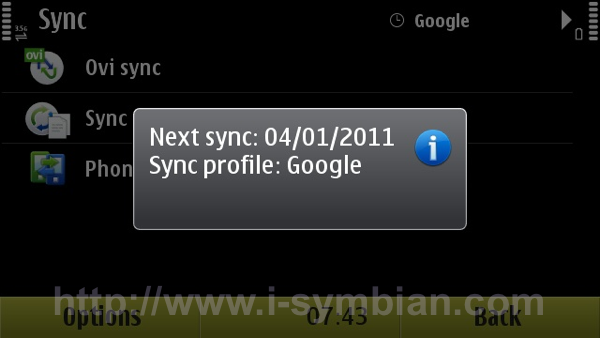
21. This is a notification of the next scheduled synchronisation.
Asri al-Baker